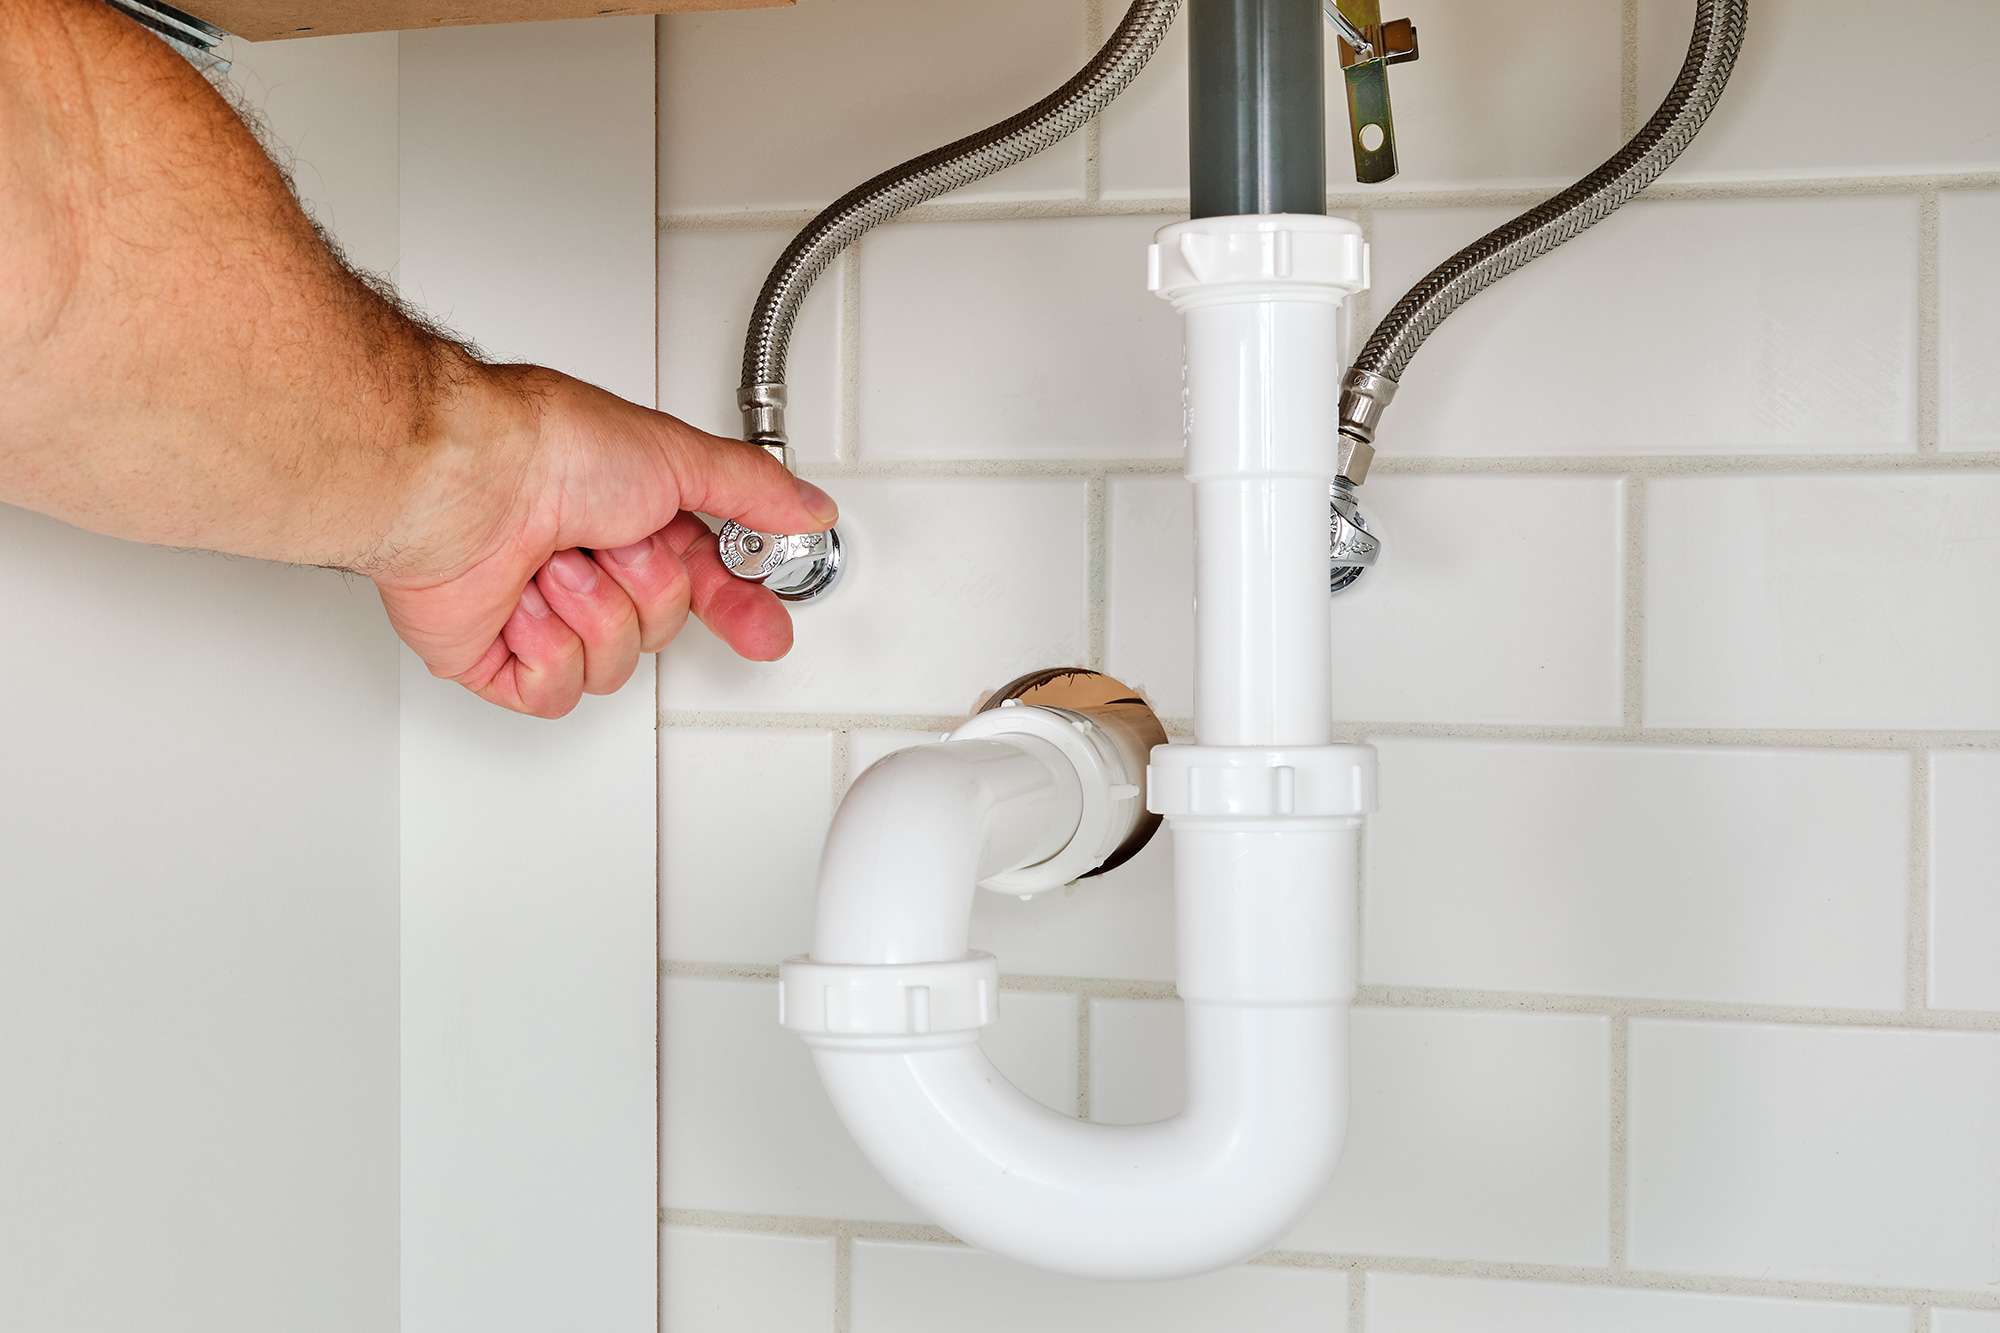
Plastic shut-off valves are ubiquitous in modern plumbing systems, regulating water flow to various fixtures and appliances. While generally reliable, they can develop leaks over time due to wear and tear, improper installation, or excessive pressure. A leaking shut-off valve not only wastes precious water but can also lead to more significant plumbing problems if left unaddressed. Understanding how to diagnose and fix these leaks empowers homeowners to maintain a functional and water-efficient plumbing system.
Contents
Diagnosing the Leak Source: A Plumber’s Perspective
Before tackling repairs, it’s crucial to pinpoint the exact location of the leak. Here are some common culprits:
- Identifying the Culprit: Packing Nut or Valve Stem: The most common source of leaks in plastic shut-off valves is the packing nut. The packing nut is located where the valve stem exits the valve body and is tightened to create a watertight seal. Over time, the packing material within the nut can deteriorate, allowing water to seep through. Less frequently, the leak might originate from the valve stem itself, due to damage or wear on the sealing components.
- Recognizing Signs of Wear and Tear: A telltale sign of a packing nut leak is water dripping from the base of the valve stem where it meets the valve body. Additionally, if the valve handle feels loose or requires excessive force to turn, it might indicate a worn packing nut or damaged valve stem.
- Addressing External Cracks or Damage (Optional): While less common, leaks can also occur due to cracks or physical damage to the valve body itself. In such cases, replacing the entire valve is necessary.
Fixing a Leaking Plastic Shut-Off Valve: DIY Strategies (with Considerations)
For minor leaks originating from the packing nut, a DIY repair might be feasible. Here’s a breakdown of two common approaches:
- Tightening the Packing Nut (for Minor Leaks): With the water supply shut off using the main shut-off valve, locate the shut-off valve in question. Using an adjustable wrench, carefully tighten the packing nut in a clockwise direction. Avoid over-tightening, as this can damage the valve or packing material. If the leak persists after gentle tightening, proceed to the next step.
- Replacing the Packing (for Persistent Leaks): If tightening the packing nut doesn’t resolve the leak, replacing the packing itself might be necessary. Turn off the water supply and isolate the valve you’ll be working on. Unscrew the packing nut and carefully remove the old packing material. Wrap new packing material (such as Teflon tape or hemp) around the valve stem threads, following the manufacturer’s instructions or industry standards. Reinstall the packing nut and tighten it securely, ensuring a leak-free seal.
Considerations Before DIY Repairs:
While these DIY strategies can address minor leaks, it’s essential to consider your comfort level and plumbing knowledge before attempting repairs. If you’re unsure about any step, or the leak seems extensive, err on the side of caution and call a qualified plumber.
When to Call a Professional Plumber
There are situations where seeking professional help from a licensed plumber is the most prudent course of action:
- Extensive Leaks or Uncontrollable Water Flow: If the leak is significant, or you’re unable to shut off the water supply using the valve, don’t attempt further repairs. Call a plumber immediately to minimize water damage and prevent the issue from escalating.
- Damaged Valve Components Beyond Repair: In some cases, the valve components themselves might be cracked, warped, or beyond repair. A plumber can assess the damage and recommend the most appropriate solution, which might involve replacing the entire valve.
- Complex Plumbing Systems or Hidden Leaks: For complex plumbing systems or situations where the leak source seems elusive, calling a plumber is wise.
Taming the Tropfen: A Guide to Fixing Leaking Plastic Shut-Off Valves
- Preventive Maintenance: Safeguarding Your Plumbing System
While leaks can occur, there are steps you can take to minimize their likelihood and extend the lifespan of your plastic shut-off valves:
- Regular Inspections: Schedule periodic inspections of your plumbing system, paying close attention to the base of shut-off valves for any signs of moisture or leaks. Early detection allows for prompt repairs and prevents potential water damage.
- Avoiding Excessive Force: Overexerting force when opening or closing shut-off valves can damage the internal components and accelerate wear and tear. Operate the valves smoothly and with a gentle touch.
- Considering Valve Replacements: Plastic shut-off valves, like any mechanical component, have a finite lifespan. If you experience recurring leaks or suspect a valve nearing the end of its useful life, consider replacing it with a high-quality, durable option. Consult a plumber for recommendations on appropriate replacements.
Conclusion: Maintaining a Leak-Free Plumbing System
By understanding how to diagnose and fix minor leaks in plastic shut-off valves, you can take control of your home’s plumbing maintenance. Remember, even a small leak can waste water and lead to more significant problems if left unchecked. For extensive leaks, damaged valves, or complex plumbing systems, don’t hesitate to call upon a qualified plumber. Their expertise can ensure a swift and lasting solution, safeguarding your home from the perils of a leaky plumbing system.
With a proactive approach that combines DIY knowledge with professional assistance when necessary, you can maintain a water-efficient and trouble-free plumbing system for years to come.

